


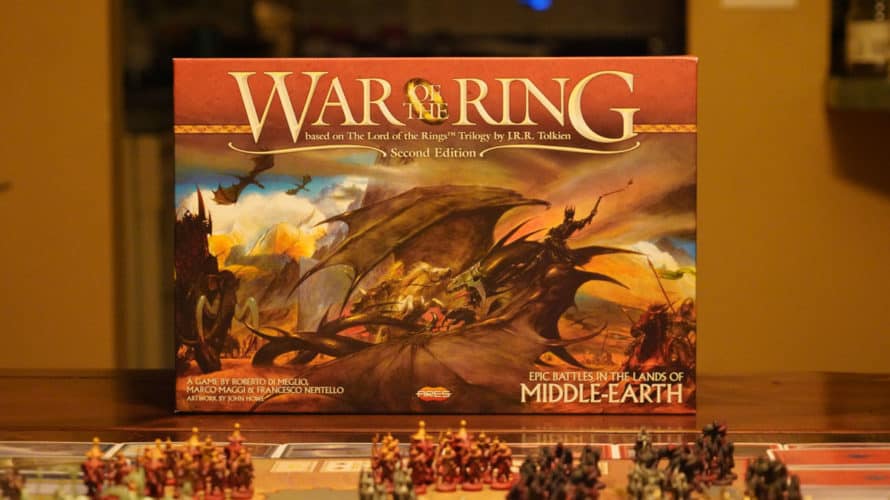
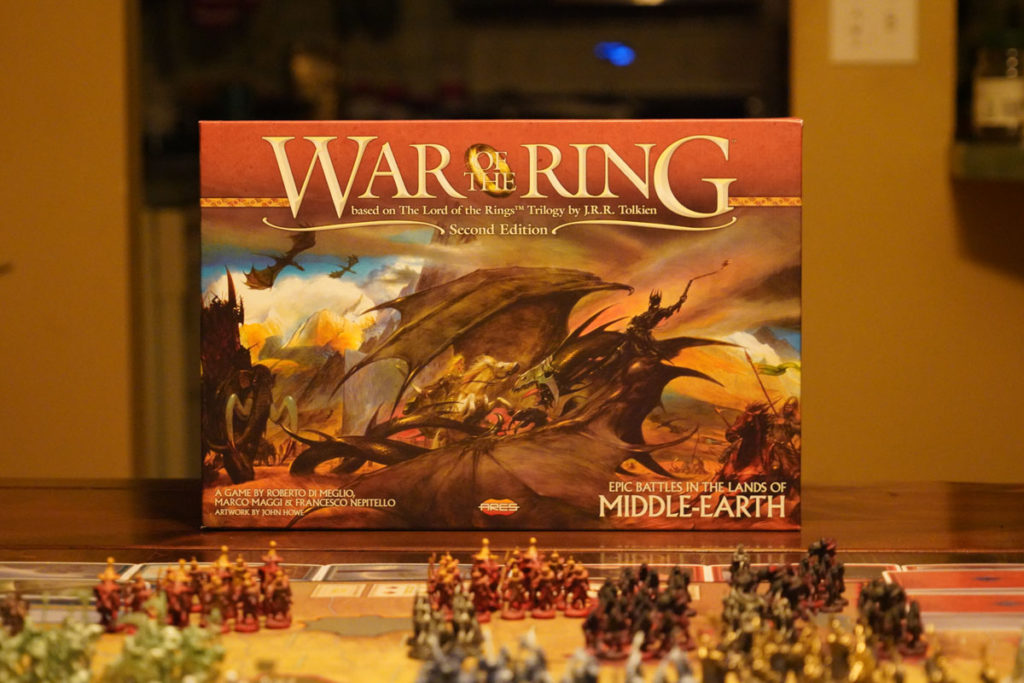
You want to play War of the Ring (WOTR) but the plastic colors are not split into enough groups. Painting miniatures can be a lengthy process. Here I’ll show you a way to spray paint your War of the Ring miniatures. Each group will be distinguishable from the others. You will have an easier game setup. They will look nice from a normal playing distance.
Not Interested in painting them yourself? Order a Painted Set here.
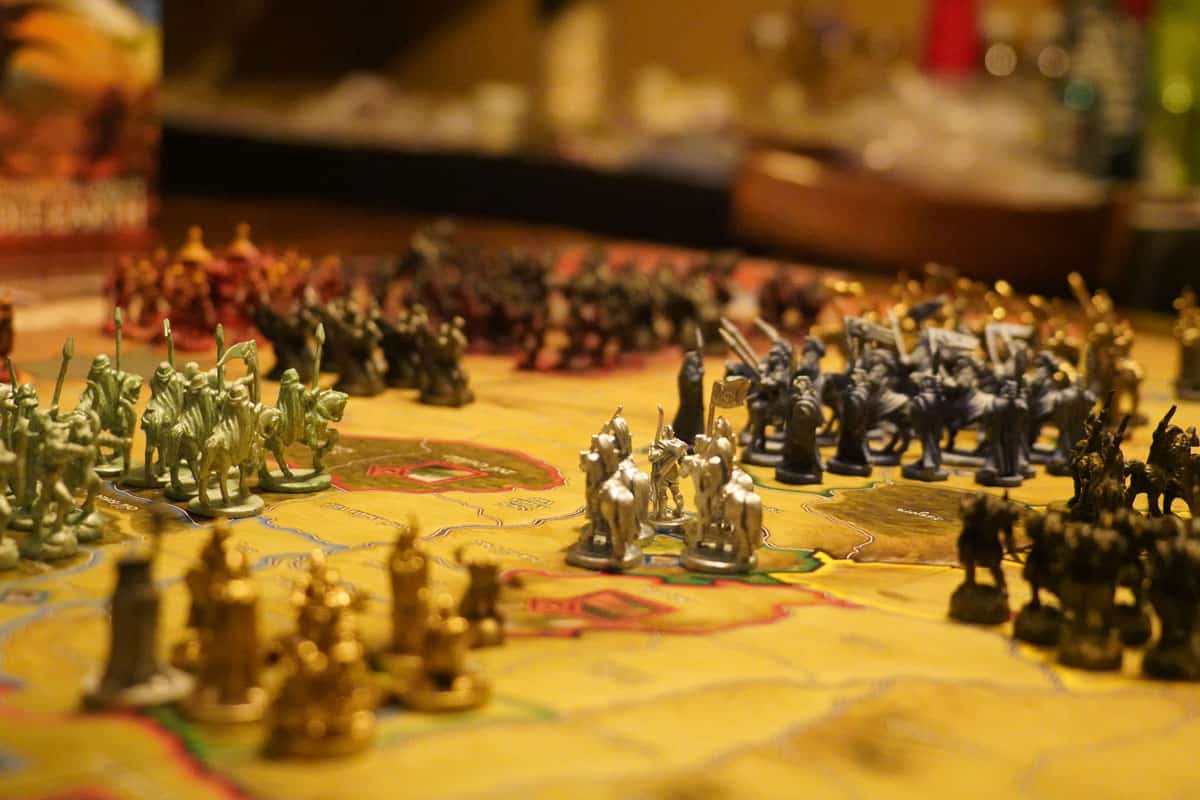
Let me start by showing you the miniatures. The goal was to get some nice enough to play. If we like the painting process, we can come back at a later time to add more detail. We want to start playing in under a week.
This game is Epic. However, most of us don’t have an epoch to paint our War of the Ring miniatures by hand. Spray painting can speed up the painting process if done well. However, there are a few things with this set of miniatures to BE AWARE OF.
Save time with Spray Paint
Before you paint your War of the Ring miniatures, consider if you want to paint them one by one individually, or in groups with spray paint. Even if you are hand painting them one-by-one, you will likely spray on a basecoat and Zenithal highlight so some of the information here will still apply.
Prep Plastic Figures Before Spray Painting the Miniatures
We get 200+ minis in a game. That is great! But they are plastic figures. We’ll need to address some up-front issues or else we could pay later in lots of time wasted.
Fix Bent Figures Before Painting War of the Ring Minatures
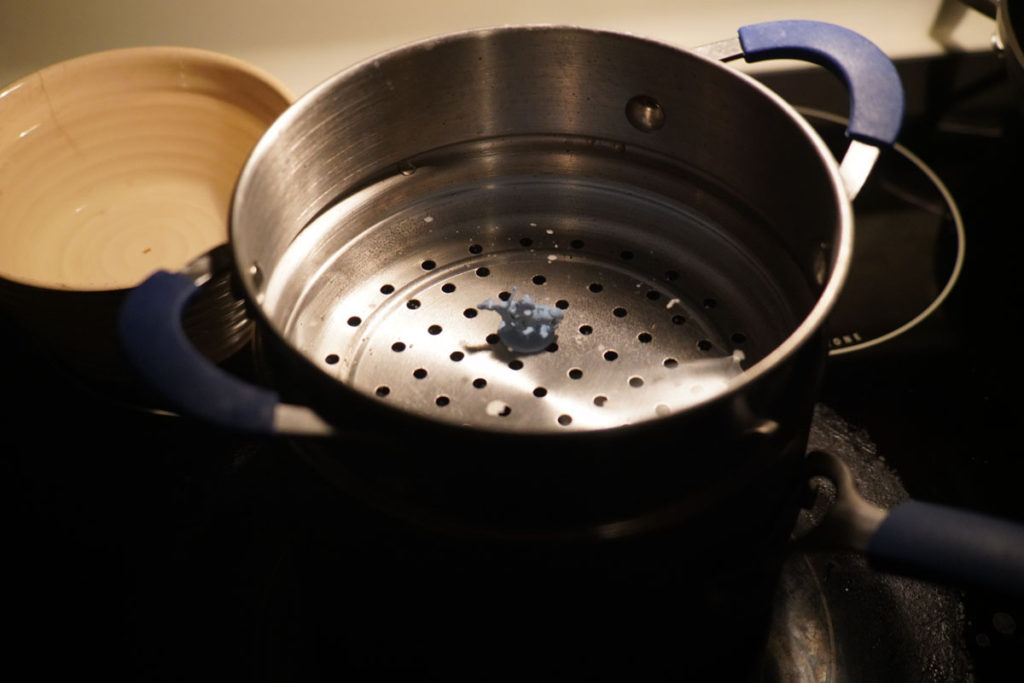
Out of 200 figures, about 10 of mine were noticeably bent sideways. Upon closer inspection about another 10 had bent spears and flags. This was entirely fixable with hot and cold water. I highly recommend doing this right away. Doing the hot and cold treatment after painting would be like going into Mordor alone.
Items Needed:
Hot Water: Temperature hot to the touch, but less than simmering.
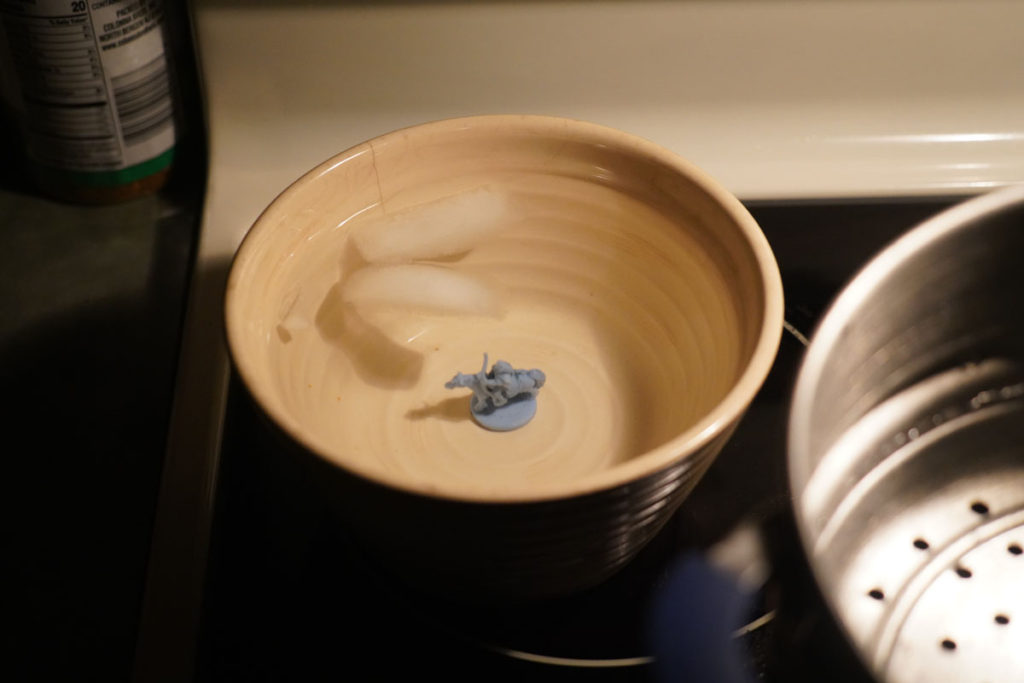
Cold Water: Fill a bowl with a flat bottom with cold water and add some ice.
Straining spoon: The water is hot! A straining spoon is safer.
I suggest placing one bent figure in the hot water for about 2 minutes (longer if needed). Feel if the bent piece starts to straighten easily if you apply a little pressure.
Then hold the figure in the straightened position you want while you place it in the ice water. Hold for 10 seconds and then let go. Let it stay standing in the water on the flat portion of the bowl while you work on some others.
Note: You can do this process multiple times. The first time I tried, the ankles bent a little. This was more due to my pressure than the temperature. The figure ended up leaning again after a few minutes. After 2-3 re-heats, I started to get a feel for when the plastic was flexible enough to straighten and the process worked great!
Once I got comfortable with doing one figure at a time well, then I did a few at a time. You’ll have to judge that depending on how quickly you work. I did not want them sitting in hot water for 10 minutes or more.
Once all the leaning figures were fixed, I repeated the process for any that had bent spears, flags, or swords.
A month later, they are still all good, confirming the hot & cold water method worked.
Cleaning the Figures Before Painting War of the Ring Miniatures
I read some articles saying you should clean the plastic figures with soap and water and a toothbrush before painting. I skipped that thinking I would not run into any issues but I did. So I suggest washing them all with soap and water and a toothbrush.
If you are doing the hot/cold straitening method, some are going to be wet anyway. It’s better to take some preventative measures now instead of re-work later.
The reasoning is that plastic can have manufacturing residual on it that doesn’t react well to paint.
Spray Painting Groups
Below are each of the LOTR groups that I painted and some of the steps I tried. If you have extra time, try a new technique on one figure before doing a whole group.
If you try a whole group and don’t like the result, you can strip all the paint and start over. For my spray paint, mineral spirits from the local hardware store and a toothbrush took off the paint.
Spray Paint techniques
I won’t go into much detail on basic spray painting techniques, but a couple of quick tips…
- Use in a well-ventilated area and with a mask
- Warmer paint flows better than cold. Set in a warm room or warm water for 10-15 minutes.
- Shake the cans very well and then some more, a minute or two.
- Line up the figures in a line on a flat cardboard piece
- I did not buy anything to hold the figures in place. Maybe if I did it a lot.
- Practice a sideways spray sweep on a cardboard box first.
- Spray in a sideways sweep to cover 5-10 figures in a single-arm movement.
- Start the spray sweep about 3 inches before the first figure. The paint will flow more evenly when it hits the figures.
- Applying several light layers with full drying time in between is MUCH better than 1 thick sticky coat. Avoid the temptation to cover all the missing spots in multiple sprays before letting each coat dry.
- Overpainting can lead to unplayable stickiness
Stickiness will cause you to start over or lots of work with multple layers of sealent. - Have fun!
Zenithal Painting Layer
I will be using Zenithal highlighting so here is a quick explanation. Zenith = directly above.
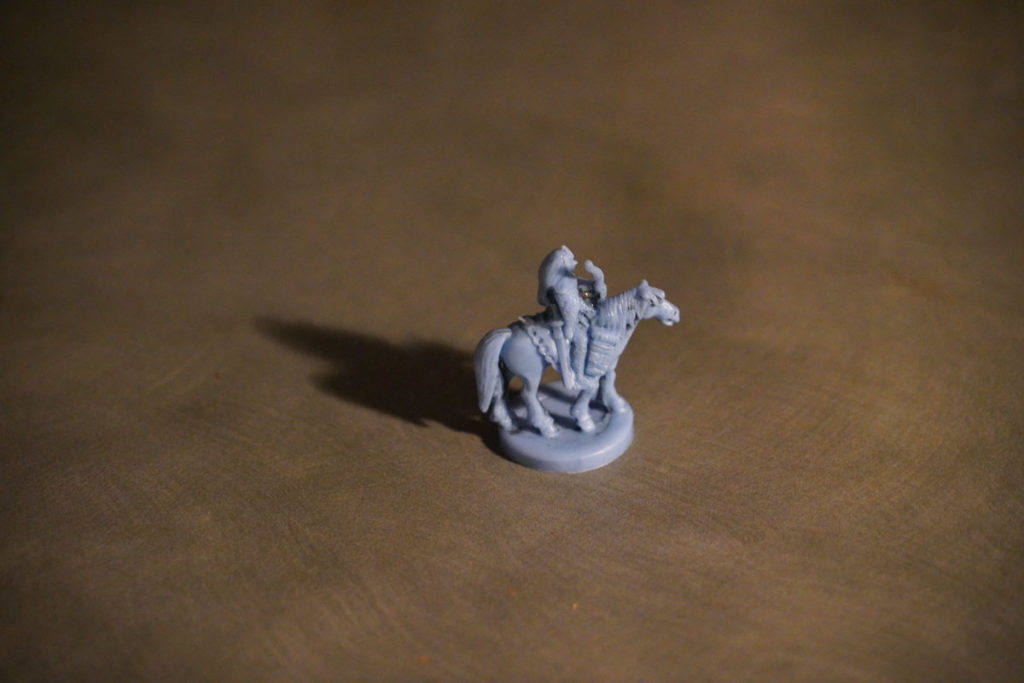
Once the dark basecoat has dried, we apply a light highlight color from above, top-down. The technique is nearly the same as the side-ways spray except we are pointing the spray directly down to add a highlight to the head, shoulders, and any other part that is facing upward to the sun. This may reveal extra details in the model we may have not noticed before. At the same time, it results in shadows underneath.
Often, other colors are applied over the Zenithal layer adding a subtle, natural-looking sunlit effect. The soldier below does not have any other colors added over the Zenithal white layer.
If you want larger highlights and less shadow, you can spray both front and back from lower angles.
Results of Spray Painting Each Group
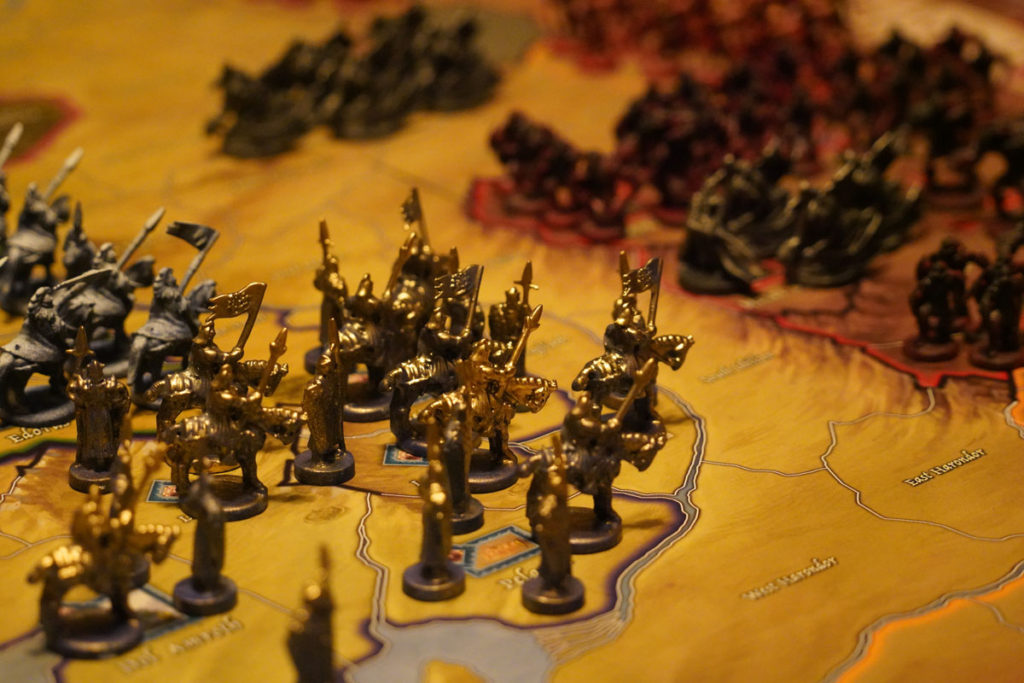
War of the Ring Miniatures: The Fellowship
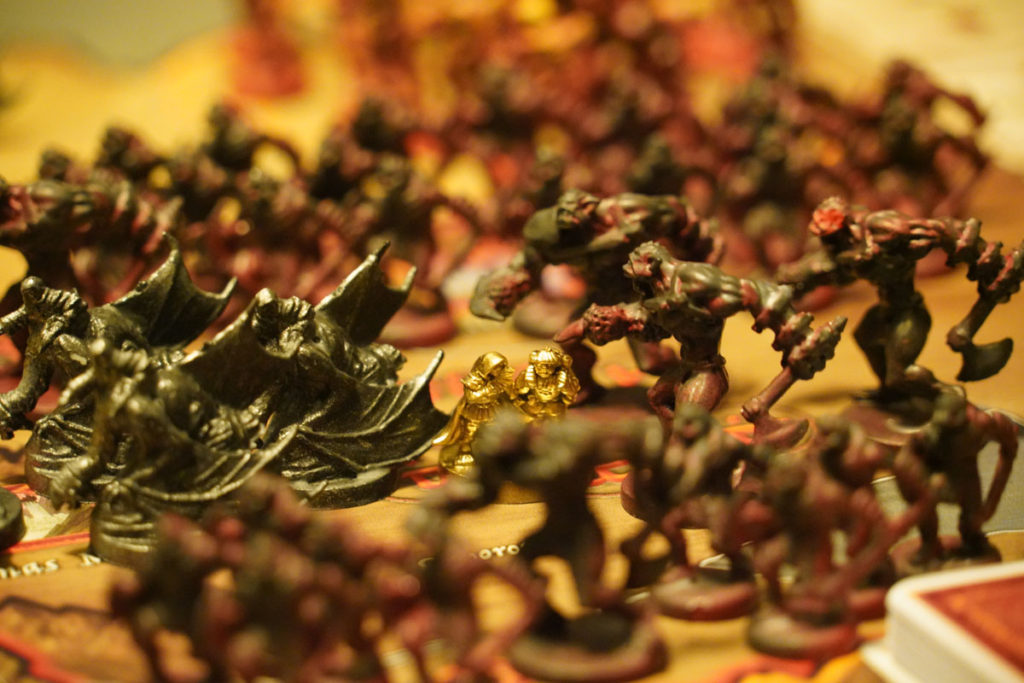
I decided to paint my fellowship gold because they are a key focus of the game. I wanted them to visually stand out on the board. You might decide otherwise. If you want the other player to forget about them, then other color choices would be more stealthy.
Coats: Matte Chalkboard Gray + Gold.
I like them in gold. I don’t think I even needed a gray coat because they are solid gold.
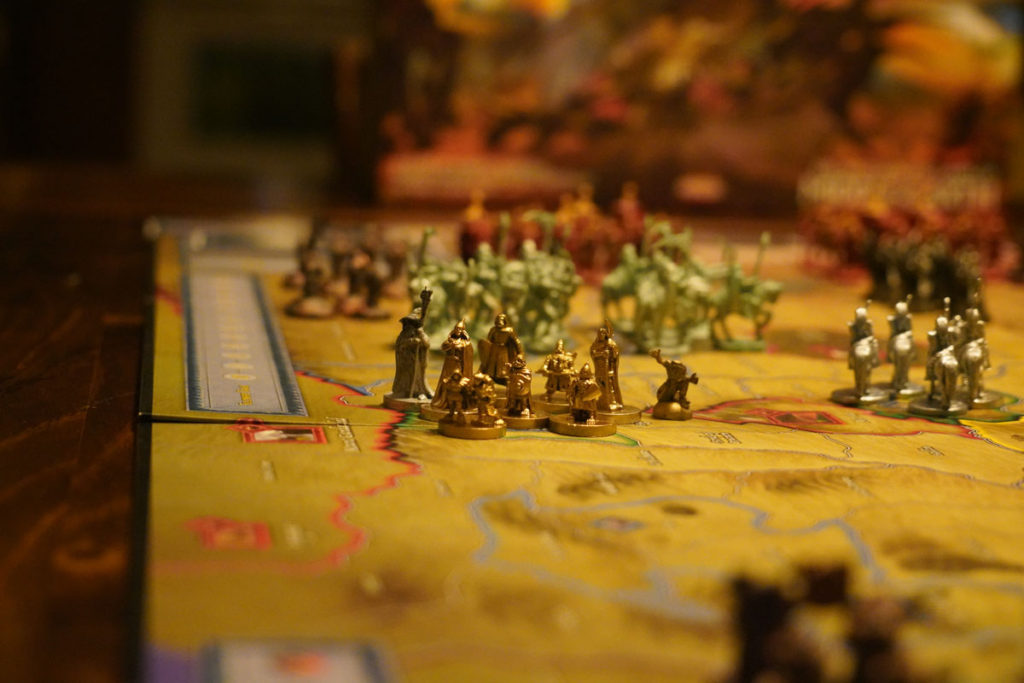
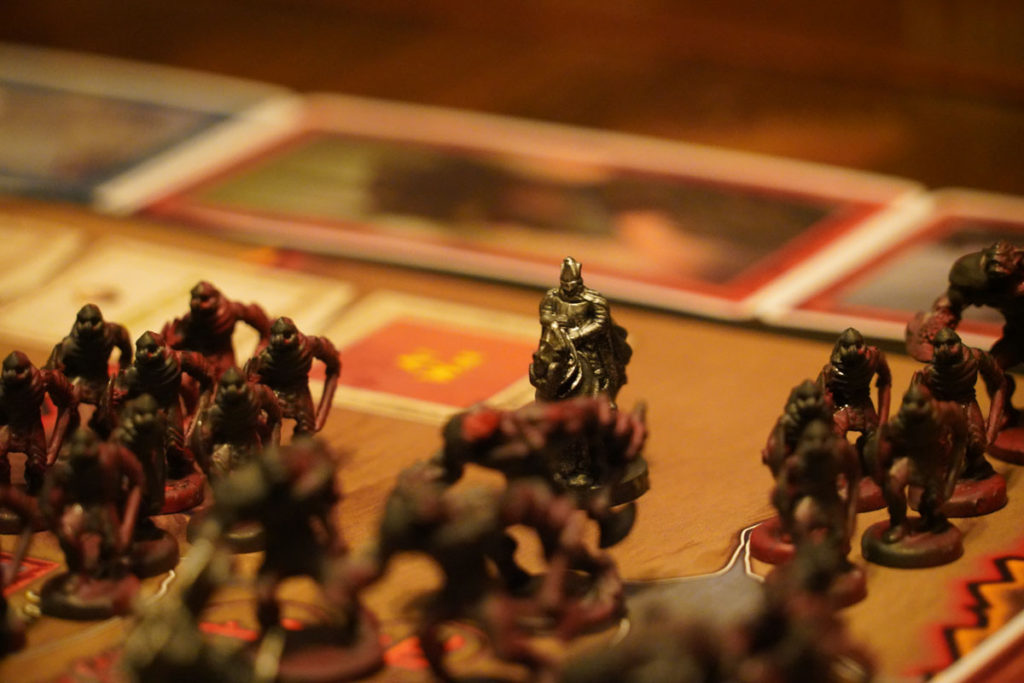
The gold stands out next to the orcs…
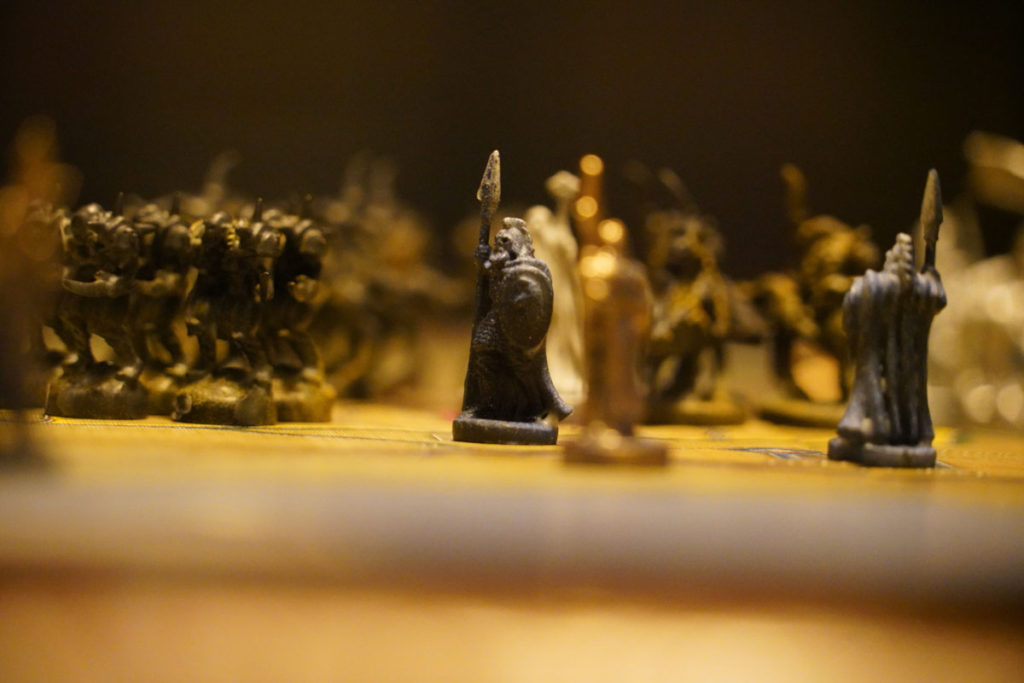
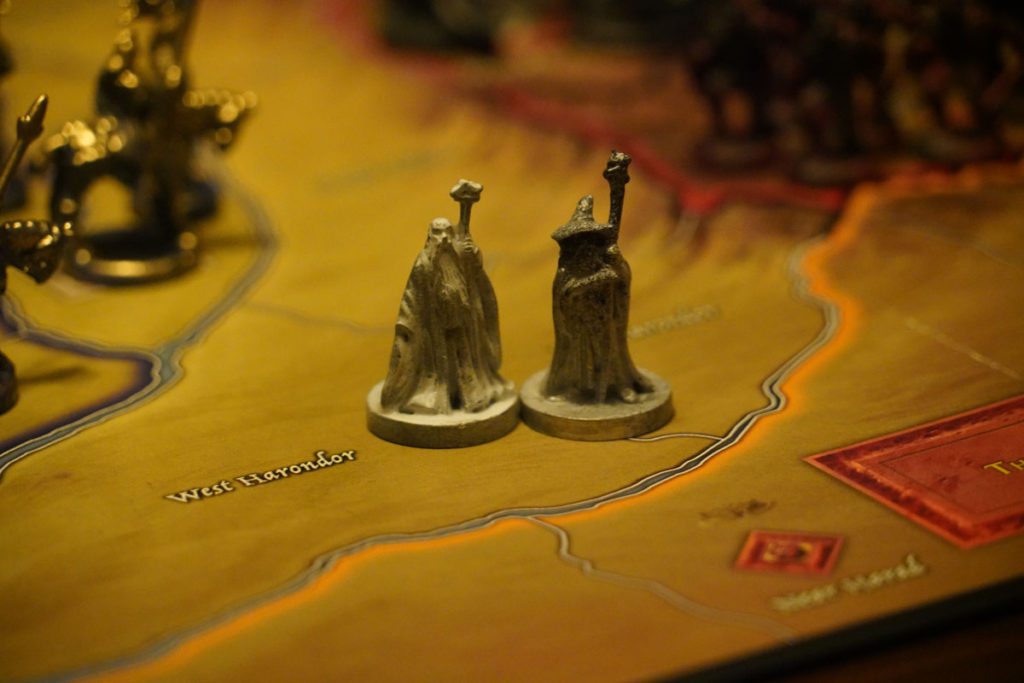
War of the Ring Miniatures: The Wizards
Gandalf is in the Fellowship and could have been painted gold. I chose to paint the 2 wizards together. Saruman is a white wizard and Gandalf is gray (at least to start)
Saruman: 1 Matte Gray Chalkboard coat + White + 2 coats of glue seal
Gandalf: 1 Matte Gray Chalkboard coat + White + very brief spray of gray from above + 2 coats of glue seal.
Overall, I am happy with these colors as I can quickly see the 2 Wizards (Maiar) on the board at any time.
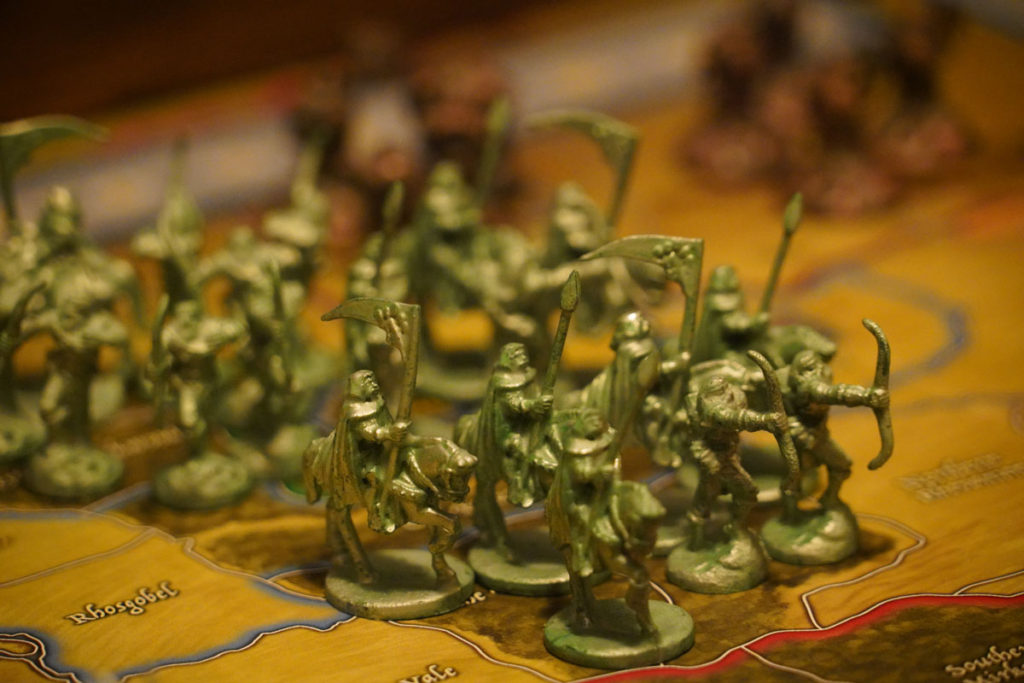
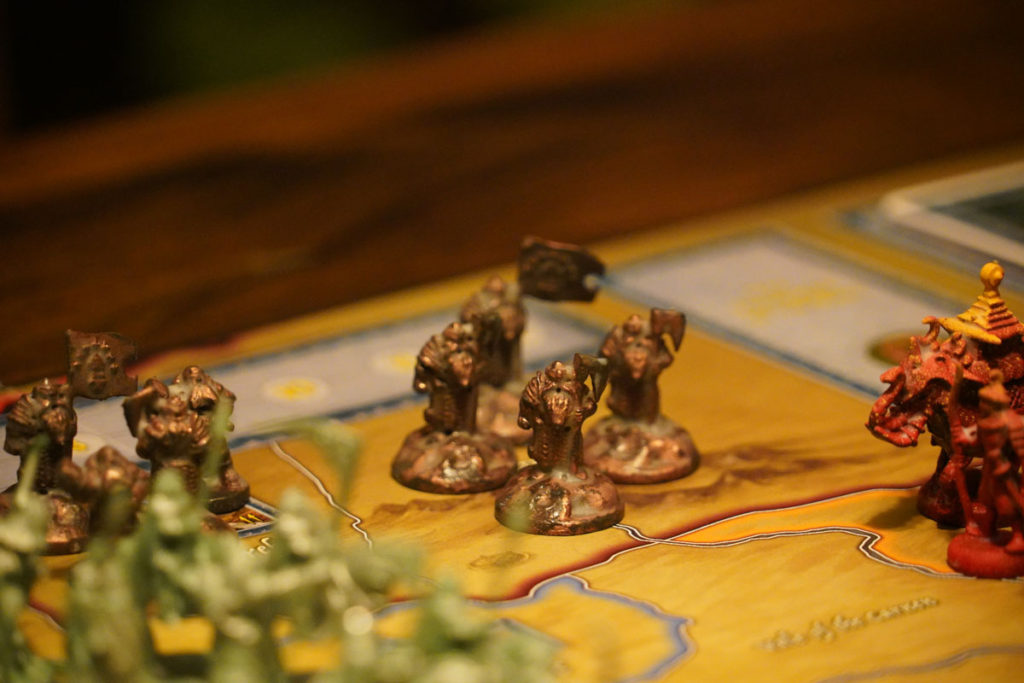
War of the Ring Miniatures: The North People
I already had 2 other blue colors planned for men-folk and wasn’t interested in a baby blue color, so I decided on a shade of light green. Straight dark green looked a little boring so I decided to add some light green and silver Zenithal highlight from the top down and at 45 degrees.
1 coat of Matte Chalkboard Gray + Dark Green base coat + Zenithal Light Green + Zenithal Silver + 2 Coats of glue to get rid of the stickiness.
After a couple of days, the colors blended to give a nice green copper patina. It came about better than I expected! Choose whatever colors you like.
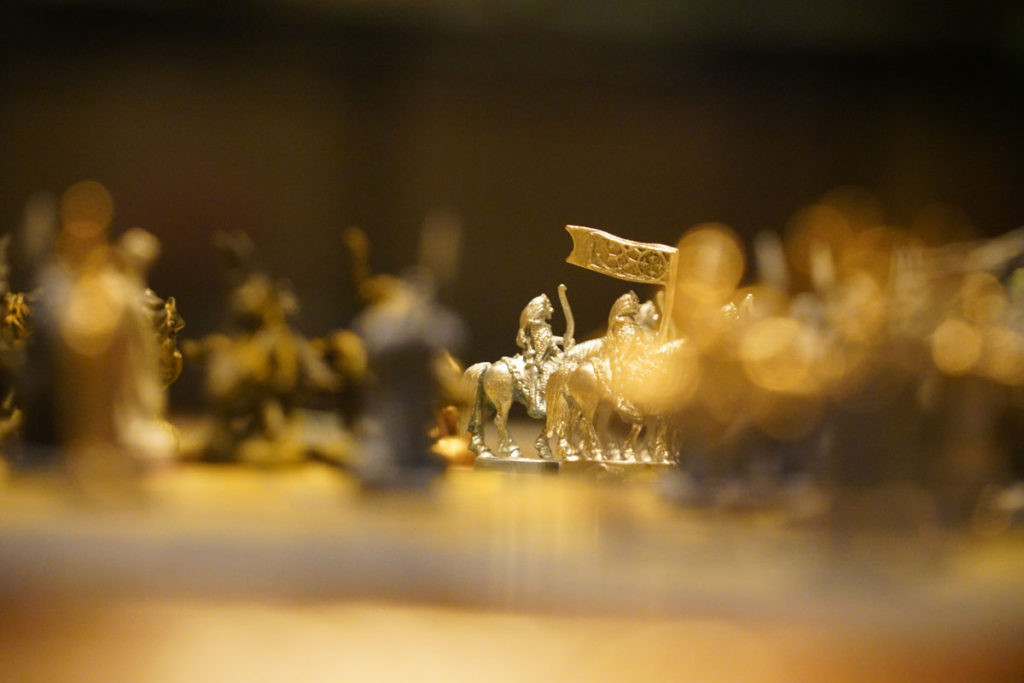
War of the Ring Miniatures: The Elves
The elves ended up being the easiest group to paint. About halfway through the process, I noticed my metallic paints were the least sticky. So I decided to strip all the sticky paint layers off the elf group and simply spray with silver directly on the plastic.
I used thin coats of silver at various angles to get into all the cracks and let each coat dry before applying another. This time they dried without being sticky and without needing any glue seal coats.
Now I have an elven group that is unique and has a silvery ethereal feel. They did originate in the undying lands after all.
War of the Ring Miniatures: The Men of Rohan
The men of Rohan have a blue border so I went with a blue look. Straight blue was too bland, so I added 1 layer of white Zenital highlighting. That ended up being it for them since I needed them to look different than the men of Gondor.
1 Matt Gray Chalkboard basecoat + Dark Blue + White Zenithal Highlight
This group is not my favorite but it has its own distinct coloring which works for the gameplay. I’ll just say it was snowing a bit. I might come back later and add another color over the white highlight. Maybe you can come up with a better look.

War of the Ring Miniatures: The Men of Gondor
The men of Gondor are a deeper blue-purple on the board. I did not have purple spray paint so I went with the same blue basecoat with a gold zenithal highlight to represent the kingship of the Isildur line. This gave them a distinct look when standing next to Rohan.
Gray Matte Chalkboard basecoat + Dark Blue Coat + Gold tip highlight.
For the Gold tip highlight, I was not looking for a full top-down Zenithal highlight as my gold paint covers a lot with a single pass. So I tried spraying from the side and only at the very tip trying to only get the flags, spears, and top of the mens’/horses’ armor. It still covered more than I intended but there is still blue at the bottom. The gold gives it a touch of royalty while blue gives them a look of some wear and is close to their border color.
War of the Ring Miniatures: Dwarves
For the dwarves, I chose bronze as they were miners of metals, often have brown beards, and my metallic paints were coming out the best. But just like in middle-earth, when you are hoping the dwarves to do more, they often fall short. My paint job started with much promise and fell a little short.
1 Dark Black basecoat + Gray Chalkboard coat + Zenithal Copper + 3 coats of glue seal
The problem I ran into was the black base coat was very sticky and subsequent coats did not improve it so I had to put on several coats of glue to seal it. At one point the dwarves were the best looking, but the glue seal coats are noticeable in spots. I’ll just say they came out of the icy mountains
If I had time to do them again, or you learn from my mistakes, I would try a different matte black that wasn’t sticky or spray paint a copper finish directly on the plastic.
Overall they still look like bronze. They are not the expected stars of the game. But maybe they will come out of the icy mountains and save the day!
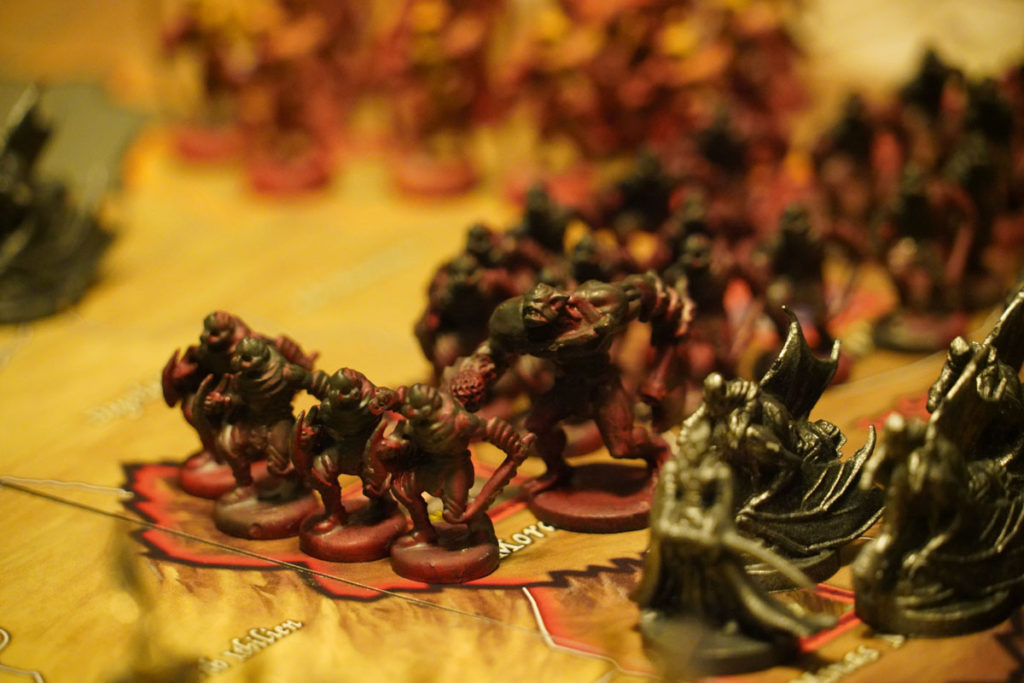
War of the Ring Miniatures: The Orcs and Trolls
Inspired by the original bright red plastic figures, I wanted to keep Sauron’s forces with a red look but something darker and more organic looking. For this, I started with a black basecoat layer and then dark Gray over it. At this point, no red was showing. I added some dark red (Colonial Red) at a 45-degree angle in a light coat. I was not precise with this pass and I was happy with the organic sinister feel.
Black + Gray + Dark Red Zenithal + 2 Coats of Glue Seal.
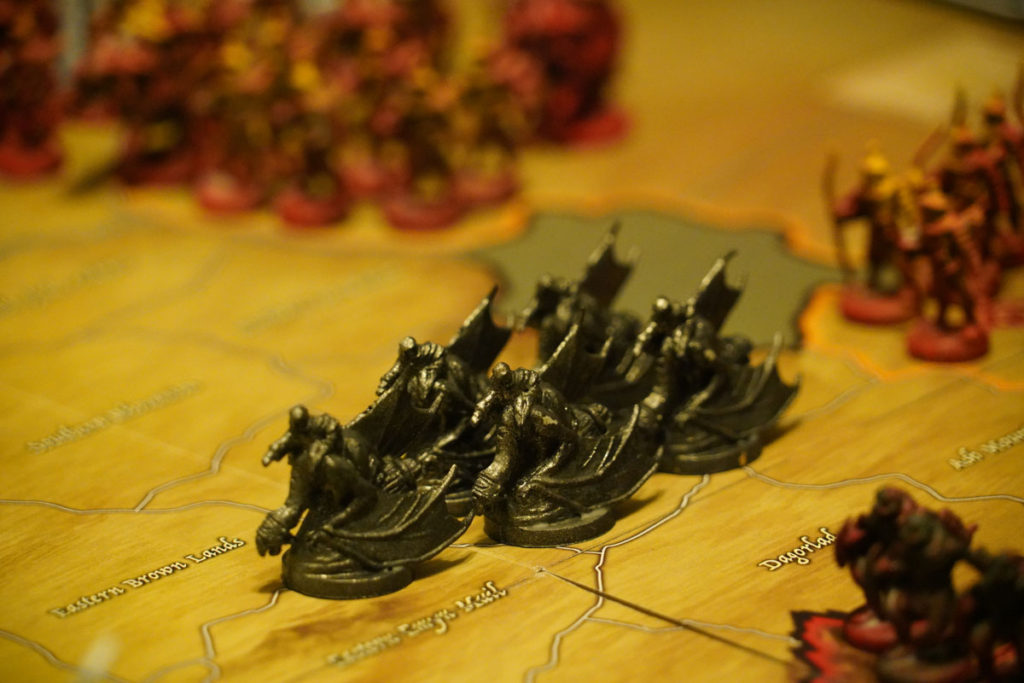
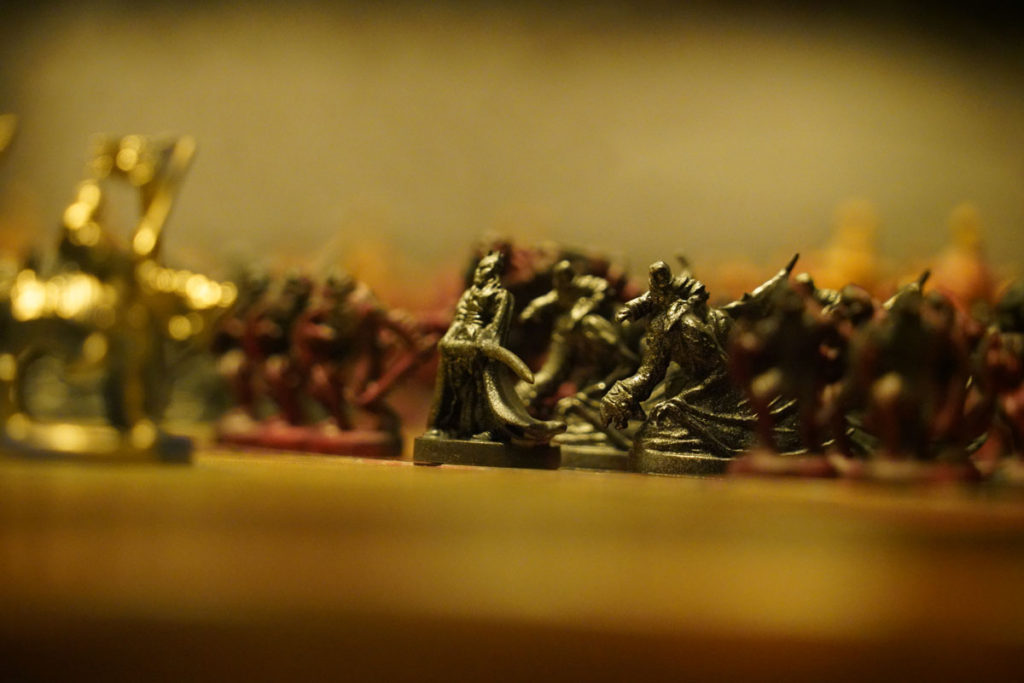
War of the Ring Miniatures: The RingWraiths, Witch King, Mouth of Sauron
For Saurons’ leading figures; the Witch King, the Ring Wraiths (Nazgul), and the Mouth of Sauron, I decided to give them the darkest look. A Black basecoat with a very light spray of Zenithal silver highlights from directly above. The silver highlights brought out the detail which was not visible with the black alone.
Black + Silver Zenithal + 2 Coats of Glue Seal.
Overall I liked the look. The silver highlights brought out detail that I was unaware of. The dark pewter color gave them a strong formidable look.
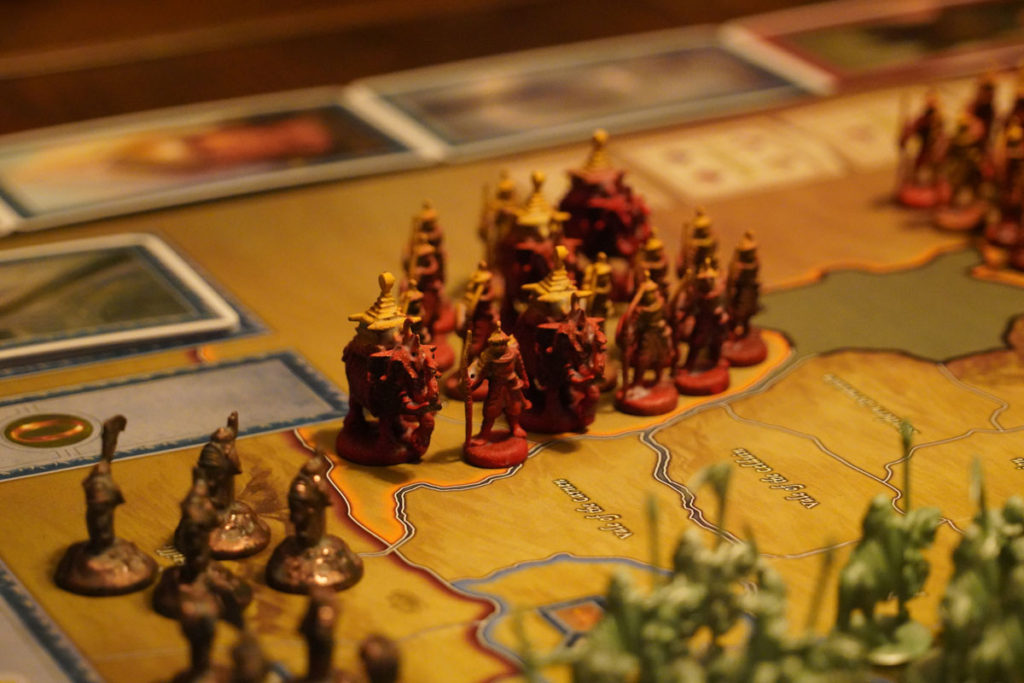
War of the Ring Miniatures: The Easterlings and Southrons
For the Easterlings and Southrons who joined up with Sauron’s forces, I also decided to keep a red theme as I did for the orcs, but wanted to go a little brighter to give them their own distinctive look and get closer to their yellow-orange country border. For this, after the red coat, I sprayed the tips of the elephants and soldiers from the side.
When doing the yellow tips, I learned from my earlier tries with the Gondorians. This time I started above the figures and purposely missed the first spray. Then gradually lowered my aim and did some shorter sprays until the paint just hit the tops of the figures.
1 Black basecoat + Light Red + Yellow Tips + 2 glue seal coats.
Overall my aim still wasn’t perfect. Some of the paint fell on their shoulders and clothes but that gave each of them a slightly different look, which I liked. The yellow blended some with the red and came out a little orange which is not far from the country border color. Meanwhile, the bases were mostly red and clearly in league with Sauron’s forces.
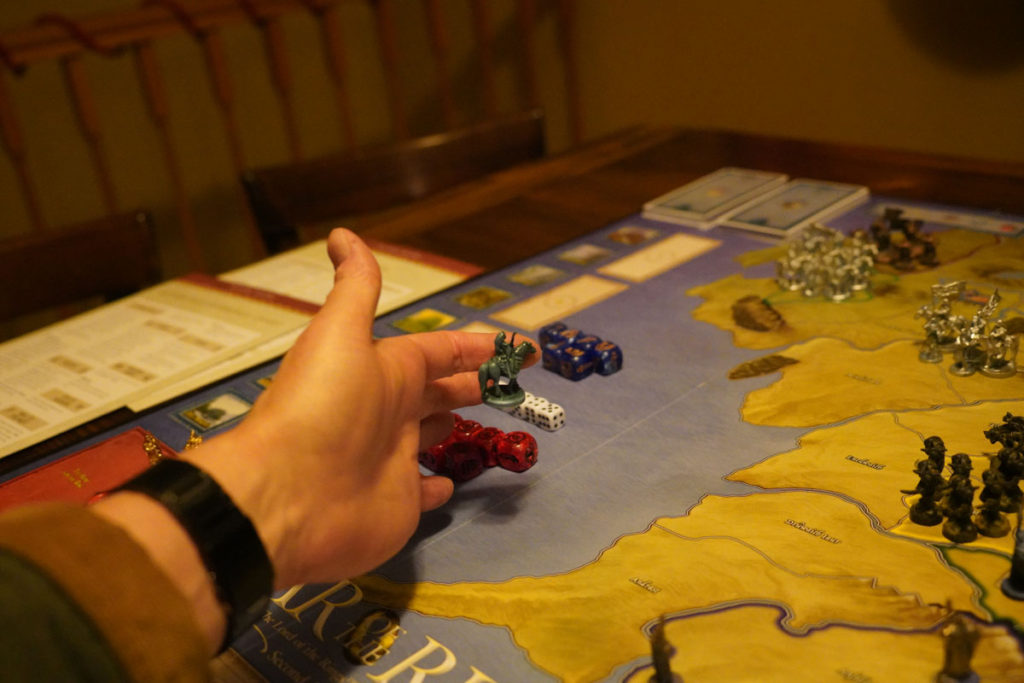
Sticky Figures After Painting
This project would have been done in a couple of days and entirely fun if the spray paint dried well. I saw other articles and videos where others had sticky paint issues with these plastic miniatures but I thought that would not happen to me. I was wrong!
This turned out to be my biggest problem. I ended up with sticky paint on some miniatures that would not dry even after a few days. I am talking about sticky to the point where they were unplayable. I could not move the pieces without them wanting to stick to my hands (as seen below). They also left paint on my fingers that was not easy to get off.
If this is happening to you, I will show you some solutions!
Paints Ranked Accoding to Non-Stickiness
There are a variety of variables for spray paint results… Temperature, humidity, paint selection, miniature material, drying time, and a number of paint layers, can all impact the results.
I suggest you try your spray paints on 1 miniature and are happy with the results before painting them all.
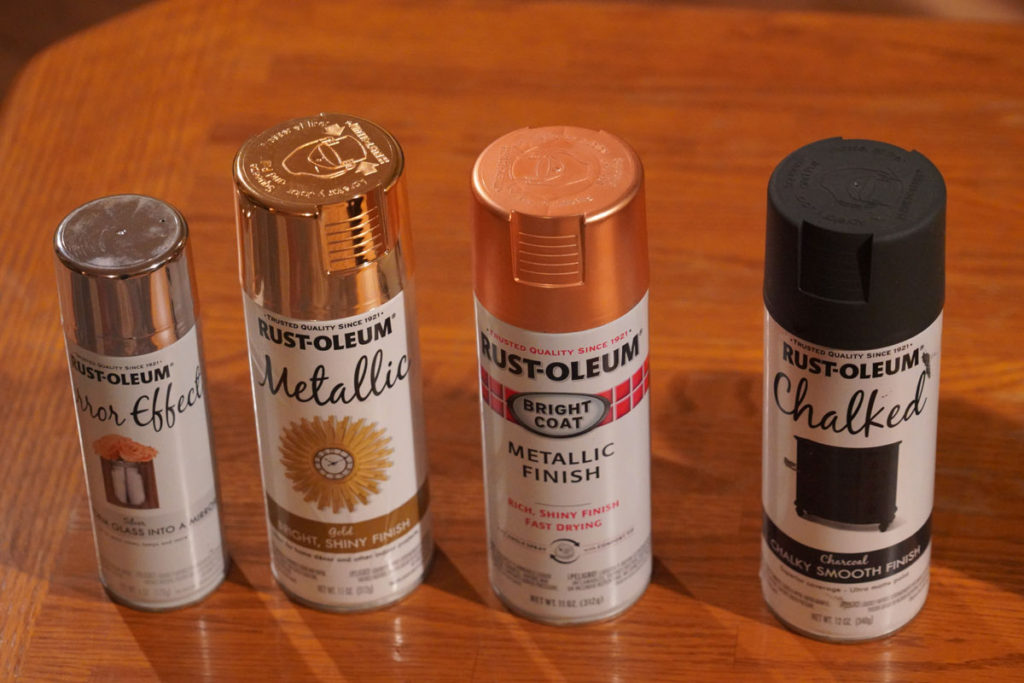
In the picture below, I show the least sticky on the left to the most sticky on the right. If I was to do this often or professionally I would look at the more expensive spray paints made specifically for miniatures.
My spray paints were from the local hardware store for a combined cost of $75-$100. They will double as paints in my garage for other projects so that at least makes me feel better about the cost.
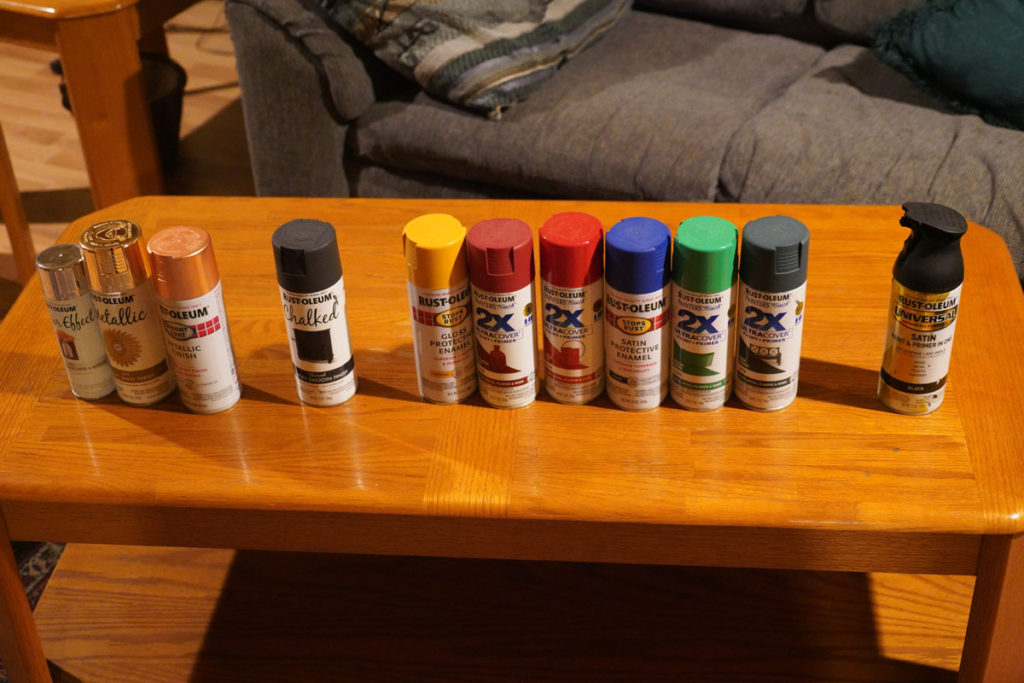
My metallic paints without any basecoat worked the best on the plastic figures.
Matte Chalkboard Gray was pretty good as a basecoat. Matte worked better than shinier Satin, Semi-gloss, or Gloss.
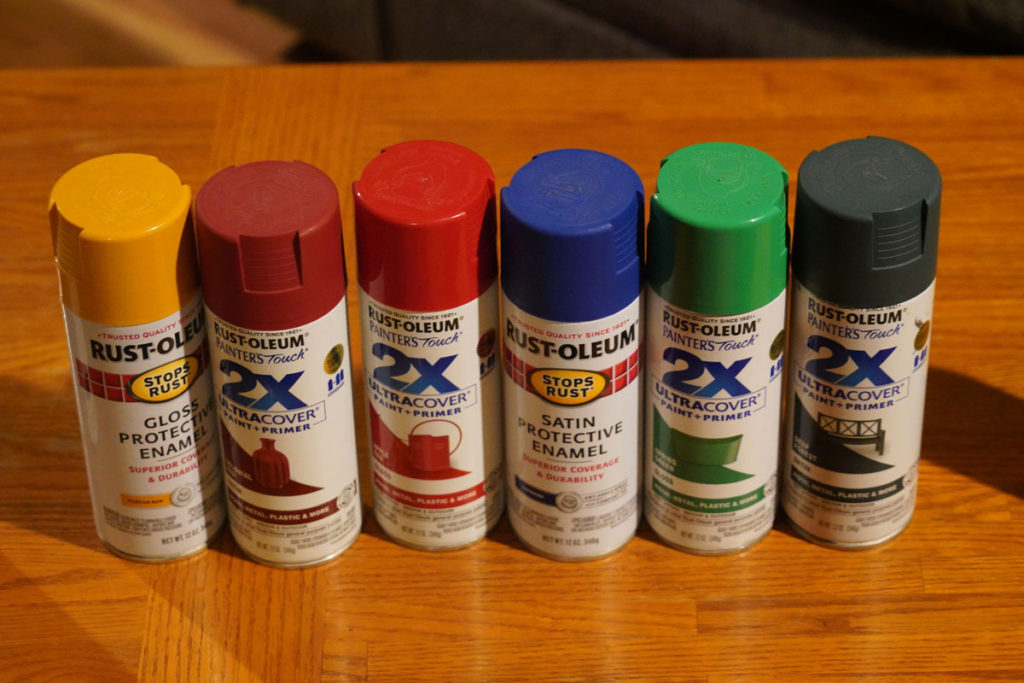
These paints were mostly sticky. I only used the yellow for figure tips so I couldn’t rank it as low as the others. they were all Satin or Gloss, so Matte is the better way to go.
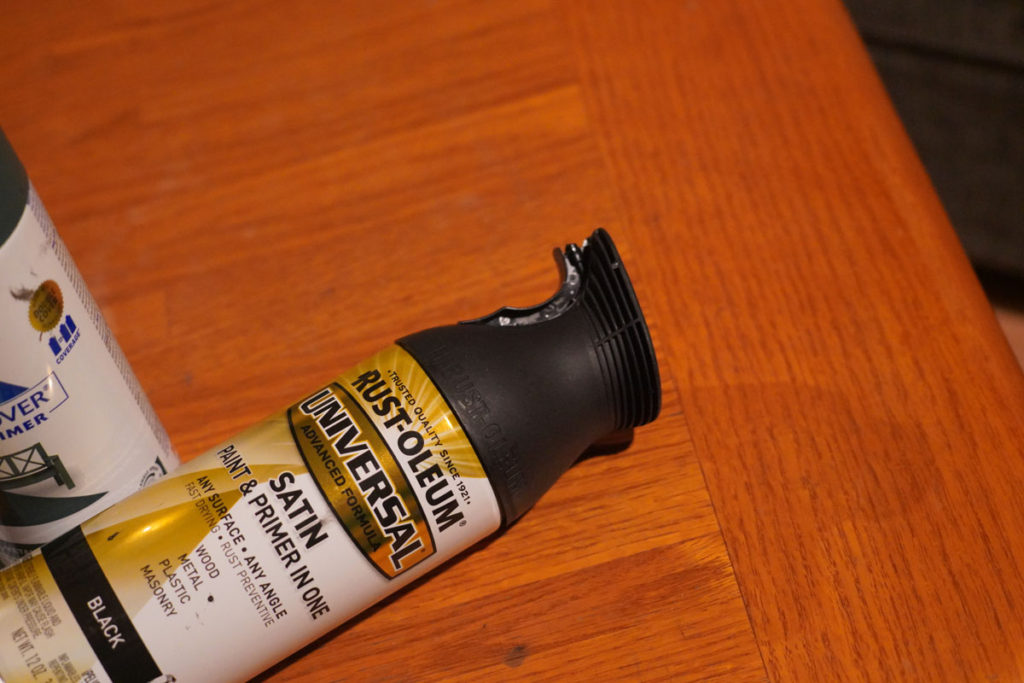
And the worst result was the Black Satin Paint & Primer in One. I am showing it on its side so you can see the paint trigger is different than a regular spray can.
This paint could be good for an outside metal railing as it puts out a nice even thick wide coat. However, thick is not good for miniature paint layers. Unfortunately, many of my miniatures started out with this as a very sticky basecoat. Once that happens, I found out that other paint layers on top of it don’t fix the problem, so avoid this paint. The Matte Chalkboard Gray was better.
Solving Sticky Problems After Painting War of the Ring Miniatures
I tried several different approaches to the sticky paint problem.
1) Strip them back down to the plastic and try again
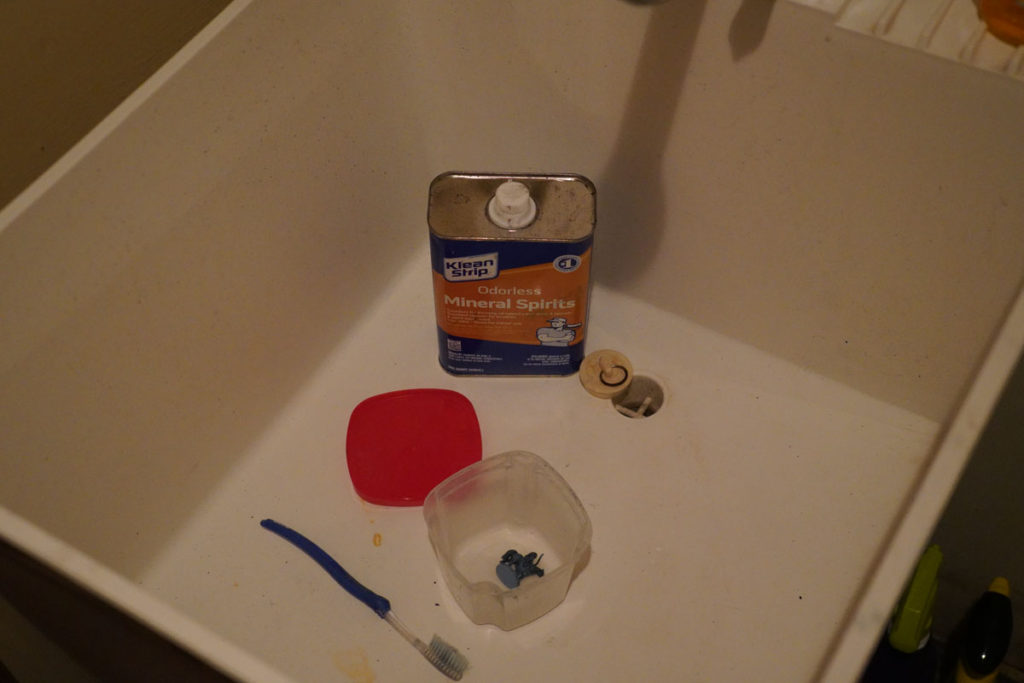
I didn’t want to strip all my minis back to the plastic because that would undo all my previous hard work. Instead, I used mineral spirits and a toothbrush on one group of elves. It removed all the paint layers and I let the figures dry before repainting them.
(The mineral spirits also removed paint off my fingers better than soap and water!)
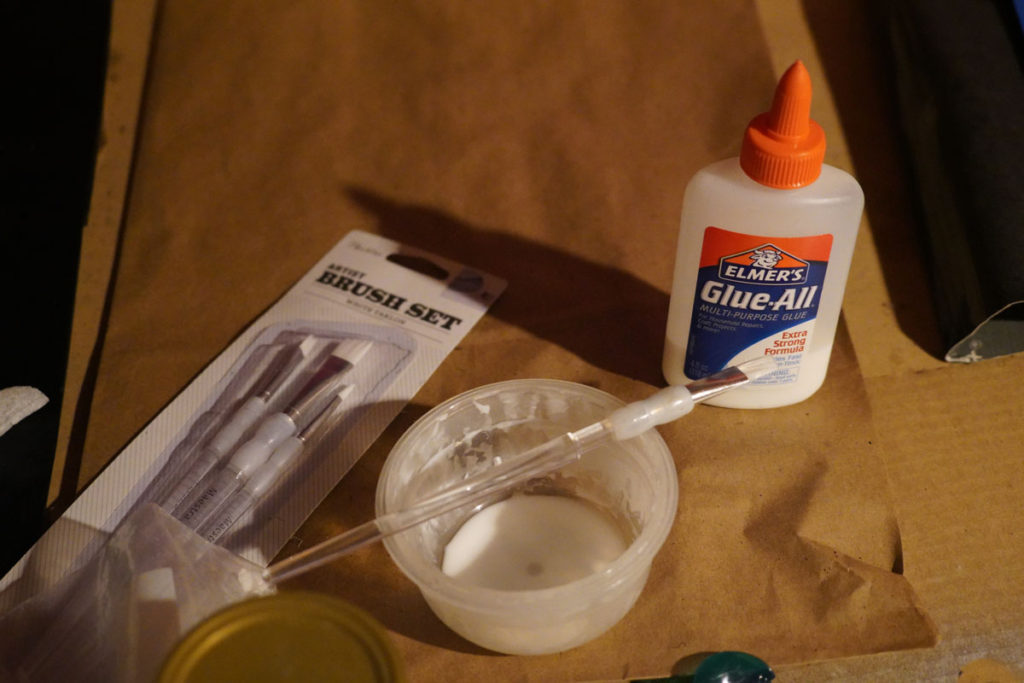
2) Seal them By Painting with Elmers Glue (mixed with a tad bit of water)
I chose this approach because my spray paint budget was already used up and I did not want to re-do all of my miniatures. It was extra work but I think it was the best solution given the paints that I had on hand.
- It worked but took 2 coats to get rid of all the stickiness.
- I mixed a few drops of water in the glue until the brush moved around a bit easier and painted easier.
- When I added too much water, the glue would run off the figure onto the platform more easily.
- When I didn’t add any water, a thicker coat of glue reduced the detail on the model.
Cons: It was tedious painting each figure one by one. I could only do half the figures in one sitting so they would not stick to the platform. It took 2 coats, so that was 4 passes on 200 figures.
One thing I would do differently is to paint the entire figure with glue in one pass. When I did half, I still had to come back to poke the figure to make sure it wasn’t sticking to the underlying cardboard.
Adding glue layers fills in crevices and slightly dulls bright colors underneath. If you are looking to achieve highly-detailed figures you may want to try a Clear Dull coat spray product.
Goal Achieved: the glue paint layers solved the stickiness problem and my miniatures are now game-ready!
For me, the goal was to have minis that looked pretty good when playing the game. the glue seal coats helped me change unplayable sticky peices into ones ready to play!
3) Spray with a Dull coat sealant.
I confess I did not take this approach when painting the War of the Ring miniatures because the Testors Dull-coat spray was another $30-40. I already stretched my spray paint budget, and I read it could take 10-2 spray coats to solve the stickiness.
Given the tediousness of hand-painting each glue seal layer, I might try the spray sealant next time.
End Summary
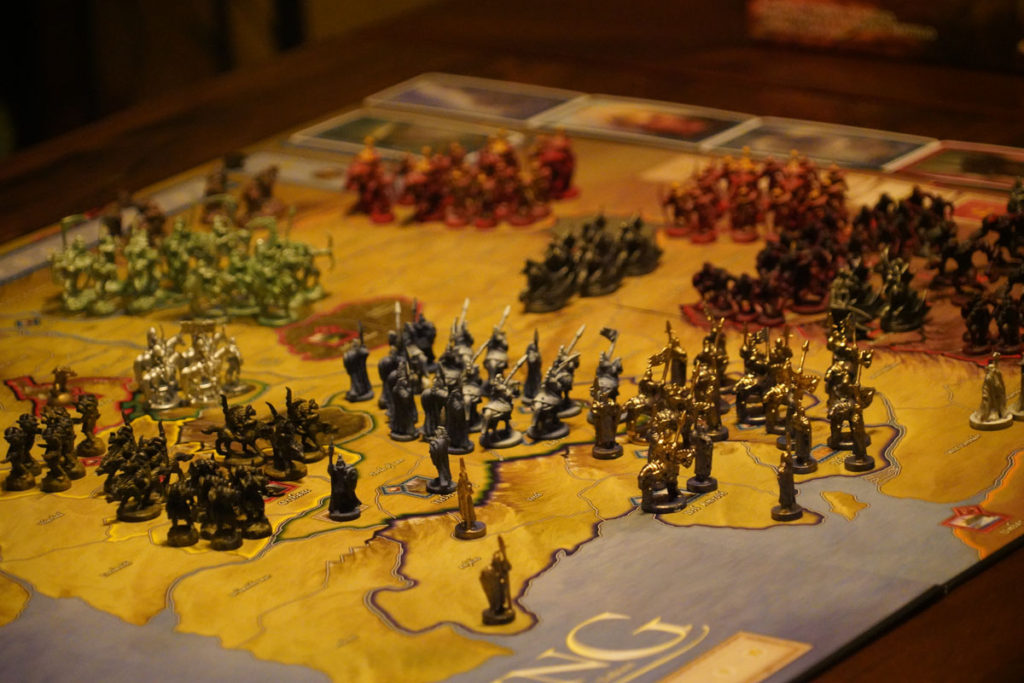
Overall I am still pretty happy with painting my War of the Ring miniatures. It took twice as long as I hoped because of the hand-painted glue seal layers. The glue layers dulled the details and colors a bit, but when I have them all on the board and sit back in a chair to play, they look very nice, way better than the blue and red default colors!
Now go get inspired and paint your own set!
If you appreciated the help and need to buy your own copy of War of the Ring, buy here to support the site.
